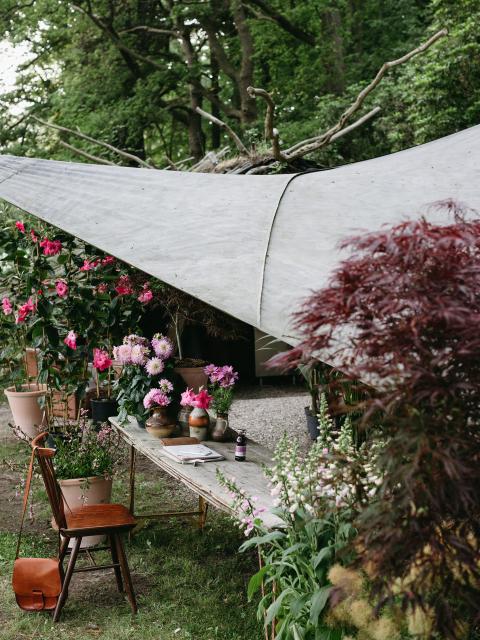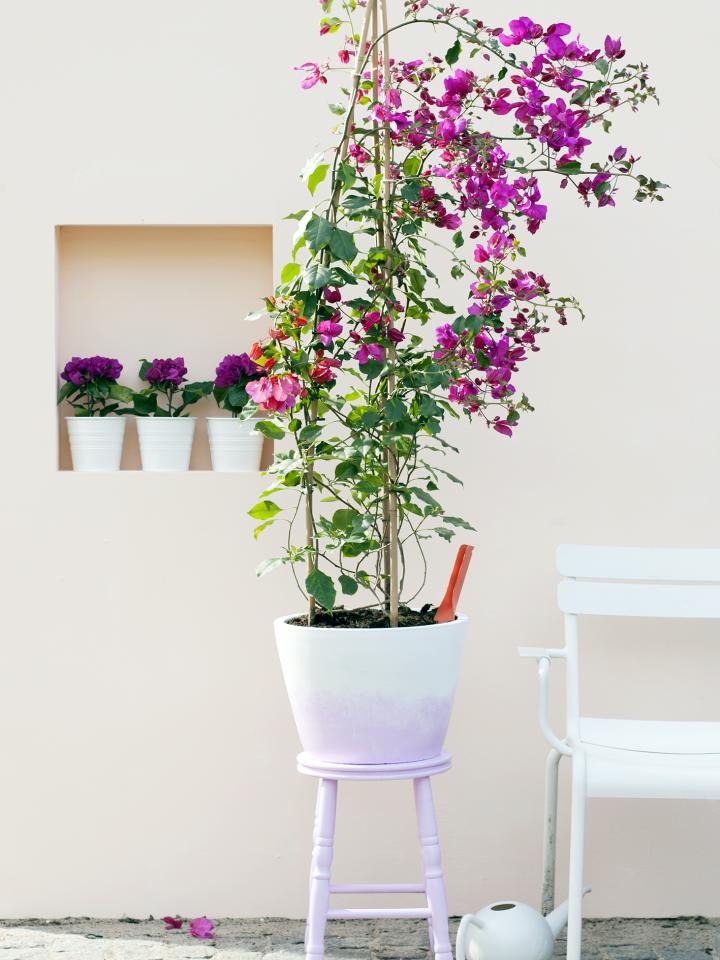
Opt for dip dye pots with various colours on the same white base. That will ensure that everything coordinates well. Stools and plant stands can be painted in the same colour.
Making the dip dye pot
You will need:
- A tin of white emulsion (emulsion allows the pots to breathe and moisture to permeate)
- Leftover emulsion (these can also be bright colours that you lighten using white paint)
- Extra: brushes and a fine sponge
Get to work
Step 1: Paint the pot with the white emulsion and leave to dry thoroughly.
Step 2: Use a sponge to apply the dip colour. Place the pot upside down and apply the paint from the bottom of the pot, working towards the rim. Dip the sponge in the paint and dab the paint onto the pot creating a cloud effect.
Step 3: Now work around the pot upwards towards the rim. Use less paint each time, and spread the paint out with the sponge more and more to create a gentle transition. Leave the part at the top white.
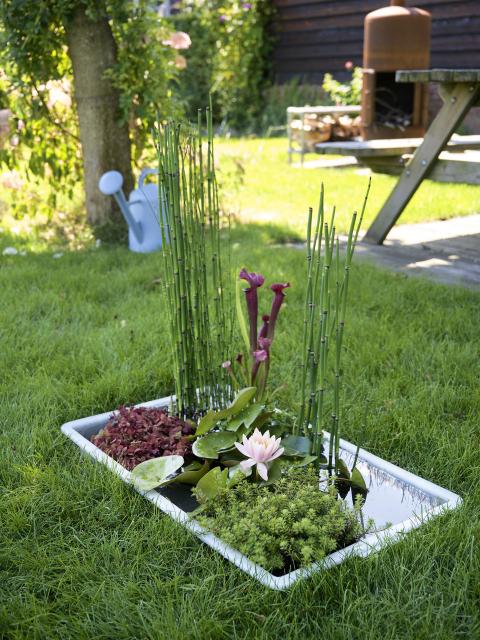
Step 4: When the pot has dried thoroughly, fill it with your favourite garden plant.
Share your fantastic creation with us on Facebook!
Dip tip: place some plastic over the edge when filling the pot to keep the white rim clean!