YOU WILL NEED
- 5x beams 4cm x 20cm x 200cm
- 3x beams 4cm x 20cm x 192cm
- 5x beams 4cm x 20cm x 58cm
- 1x beam 4cm x 20cm x 93cm
- 1x beam 4cm x 20cm x 62cm
- 1x beam 4cm x 20cm x 35cm
- 2x 1-by-3: 18mm x 45mm x 192cm
- 2x 1-by-3: 18mm x 45mm x 58cm
- 15x corner brackets
- Drill and nails to attach the beams together with the corner brackets
- Optional: paint or stain
For the planter
- Carrot cloth to fill the planter
- Tacker to tack down the root cloth
- Potting soil to fill the tray with
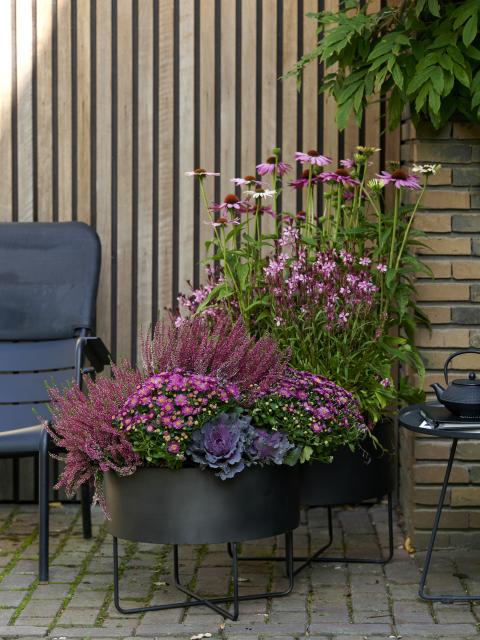
- Plants and ornamental grasses of your choice - we chose echinacea, Nepeta, Gaura and Helenium.
HOW TO MAKE IT
Step 1
Collect all materials for layer 1.
Layer 1 = 2 beams (20x200cm), 2 beams (20x58cm), 4 corner brackets.
Using the corner brackets, attach the beams together with a drill and screws as shown in the illustration below. The idea is to create a frame of the four beams. This is the bottom layer and will be placed on the ground.
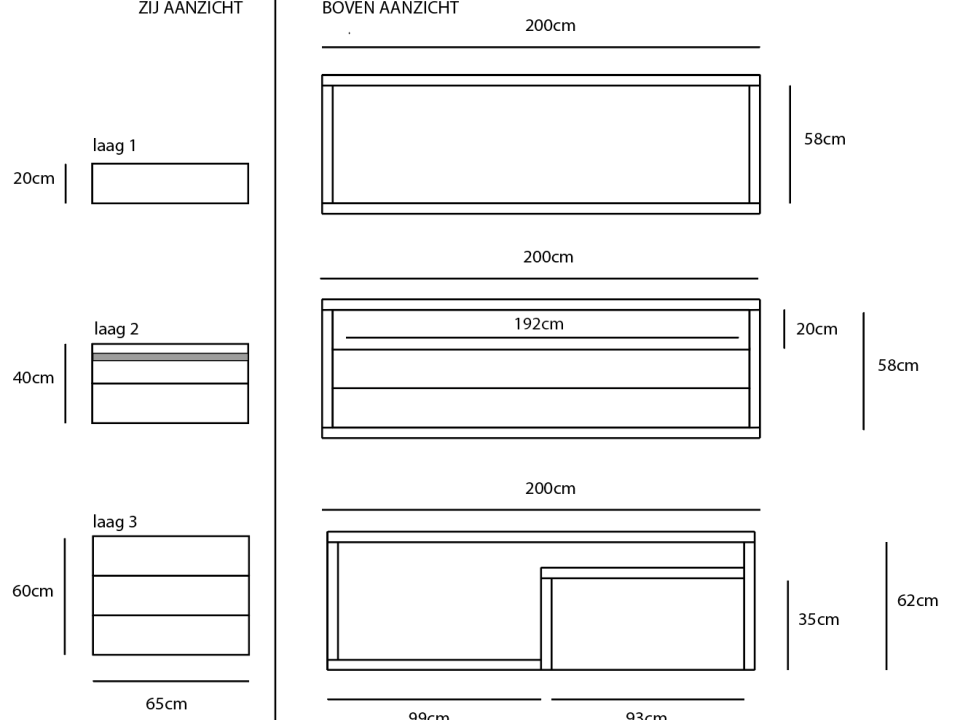
Step 2
Collect all materials for layer 2.
Layer 2 = 2 beams (20x200cm), 2 beams (20x58cm), 3 beams (20x192cm), 4 corner brackets, all 1-by-3s.
Attach the first four joists together using the corner brackets with a drill and screws as with the first layer. Then, screw the 1-by-3s against the beams. Make sure that there is just enough space above the 1-by-3 to be able to place the beams for the seating area on it - about 4cm. Put the 3 beams of 20 x 192cm in the frame and let the beams rest on the 1-by-3s, creating a seat.
Step 3
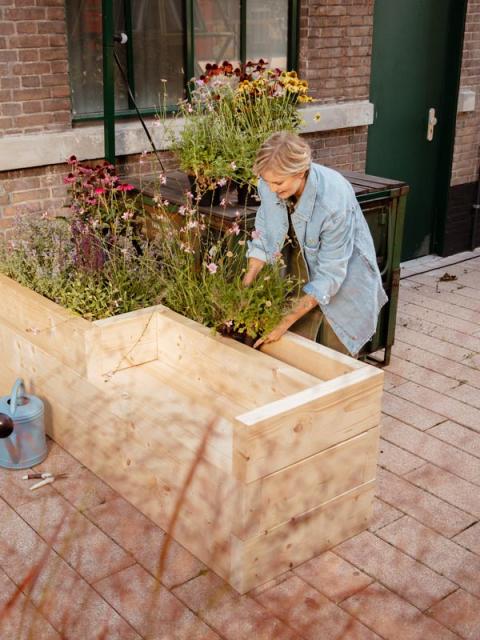
Collect all of the remaining beams for the third layer. Now you're going to make the top frame, the planter. Use the other corner brackets to screw the remaining beams together as shown in the picture. Attach the root cloth to the inside of the planting area with a tacker. Fill this with soil and your desired plants or grasses to really bring it to life. We chose echinacea, Nepeta, Gaura and Helenium.
Tip: to ensure that your creation lasts as long as possible, we recommend painting or staining the wood for longevity.
Is this DIY a bit too advanced for you, or you want to make something smaller? This combination of plants (echinacea, nepeta, gaura and helenium) also look great in a planter or small pot.
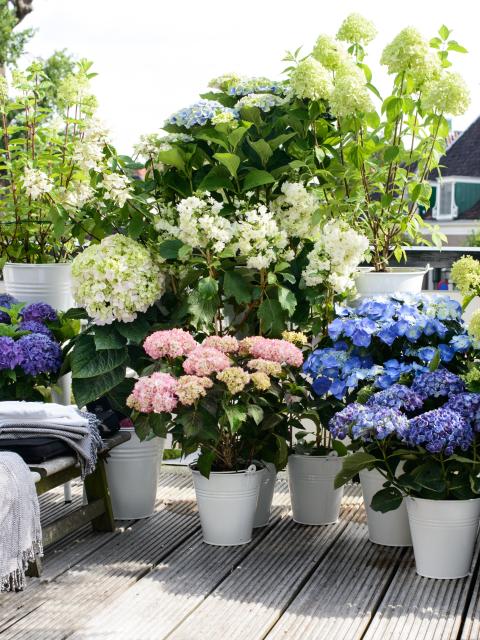
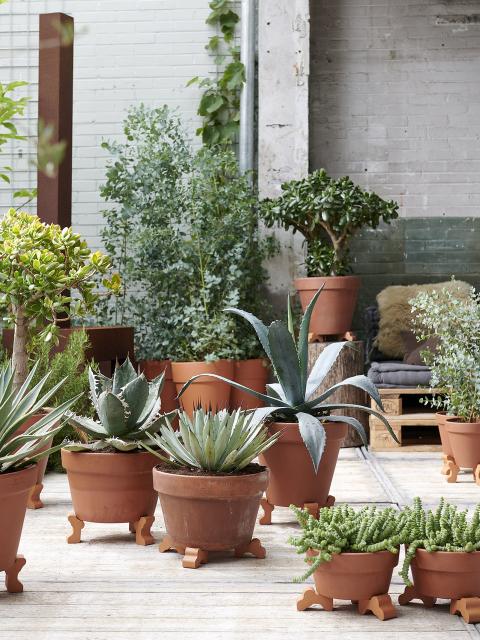
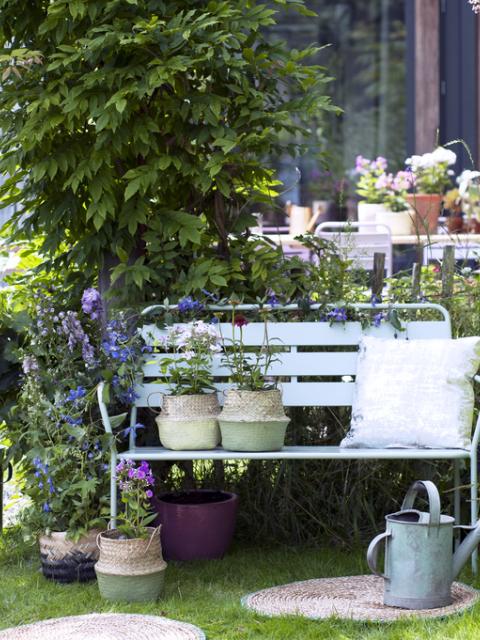
MORE GREEN INSPIRATION
Share your green transformations with us on Instagram or Facebook with the hashtags #thejoyofplants and #fromgreytogreen. Need some more inspiration to green up your living space? Find out how to create a greener entrance to your home and how to add green to unexpected places.