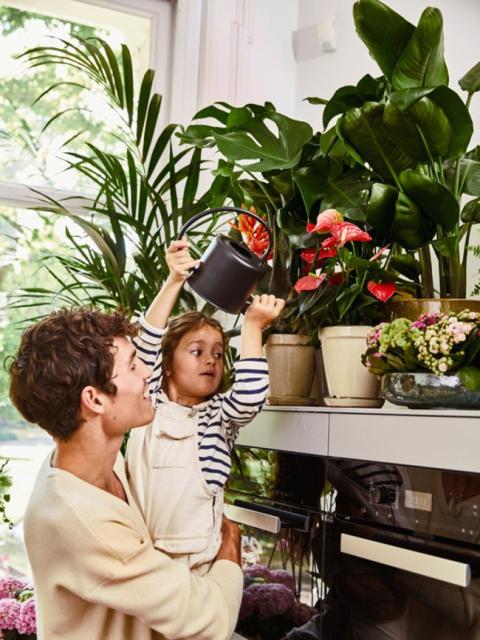
You will need:
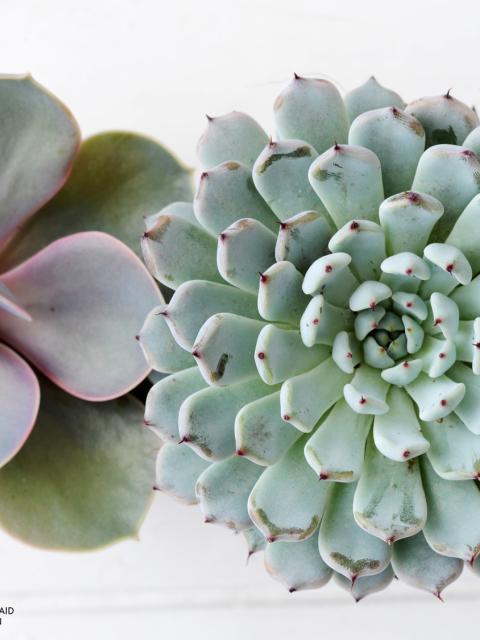
- Sarracenia and Echeveria
- Smooth cement, e.g. 1 kilo beamix cement from B&Q
- Water
- A large mould, we used a bucket
- A small mould (the size of your plant pot). Note: make sure that it's made of thin plastic or cardboard so that it can be easily removed
- Vaseline
- Insulating tape
- Copper paint
- Brush
Get to work
Prepare the cement according to the instructions on the packet. Then grease the bucket with Vaseline or another greasy substance. Pour the cement into the bucket up to the desired height. Note: make sure that the pot will be deep enough for the plant you want to place in it. Now place the small mould in the spot in the cement where you want to create space for your plant. Press it down deep enough, but not so deep that it goes through the cement at the bottom. Weight the small mould so that it stays in place. Now leave it all to dry.
Be patient...
Once the cement is dry, you can carefully slide the pot out of the bucket. Remove the small mould by folding it and pulling it out. Drill a couple of drainage holes in the bottom of the pot for excess water. Stick insulating tape on the pot so that you can paint in a straight line. Insulating tape gives the neatest result, because it’s stretchy. Now paint the bottom copper with a brush. Or maybe you prefer a different colour. Remove the tape once the paint is dry, place your favourite plant in it and give the pot a nice spot in your home. Finished!