How to build your own hydroponic garden
You can build your own hydroponic garden using recycled materials or by buying a specially designed kit.
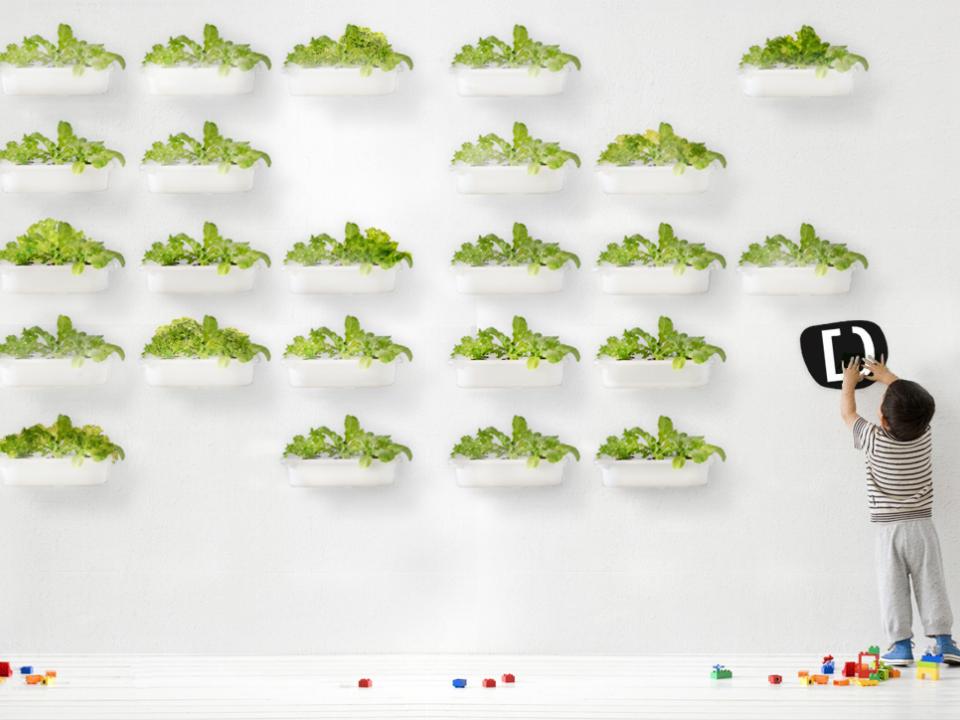
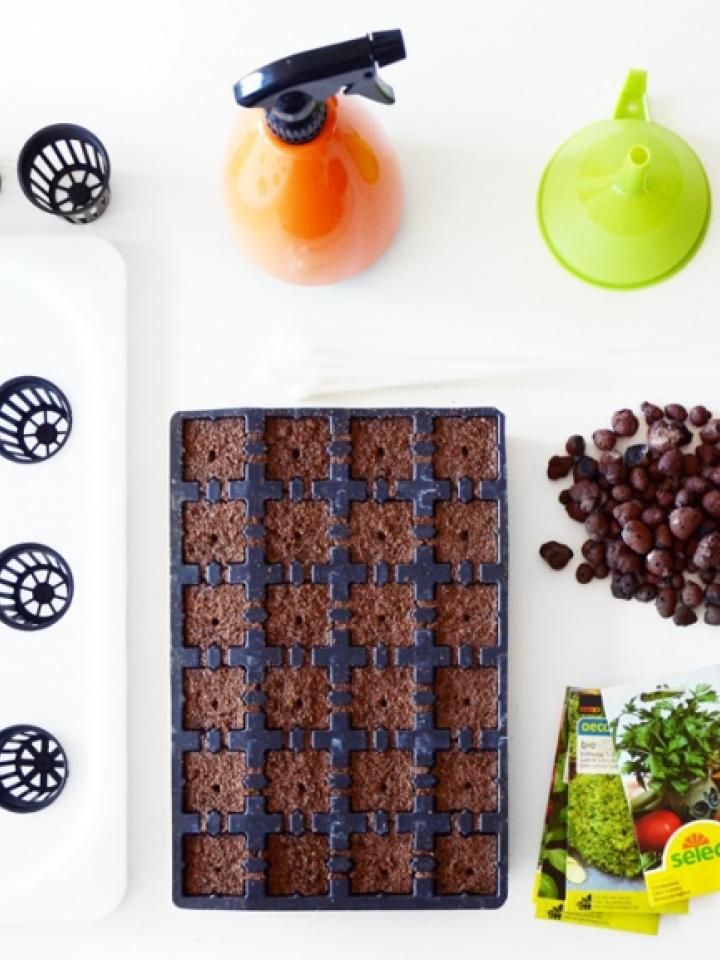
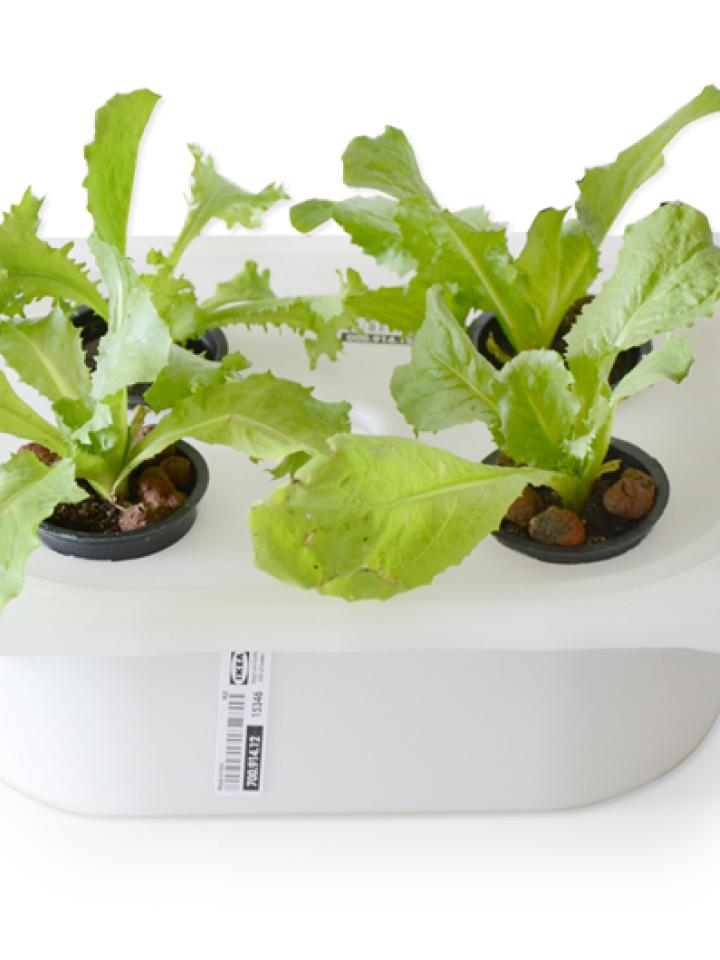
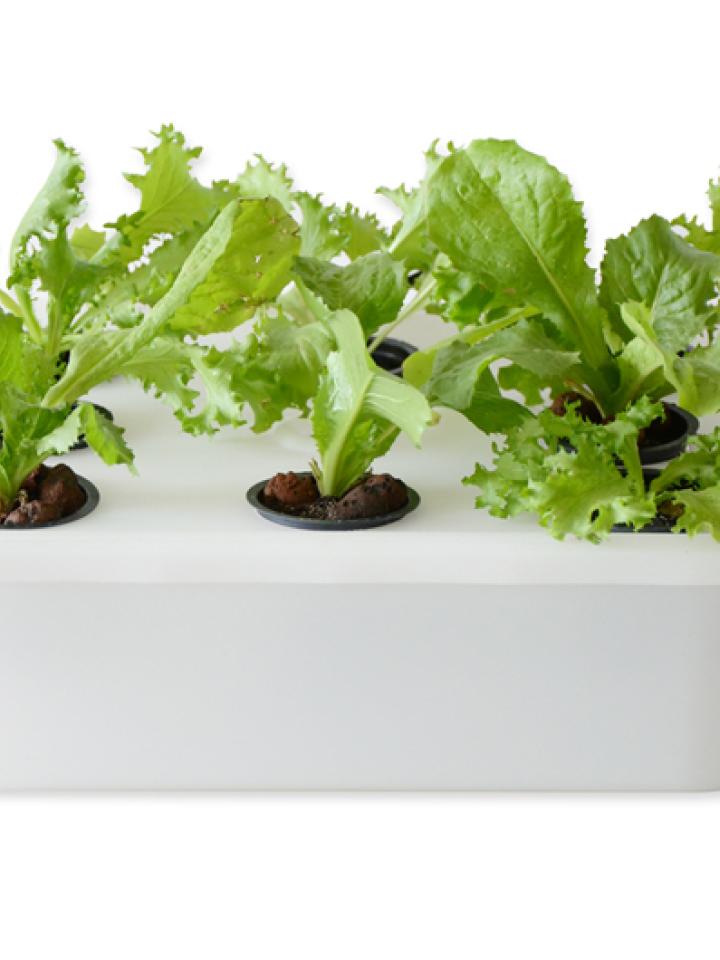
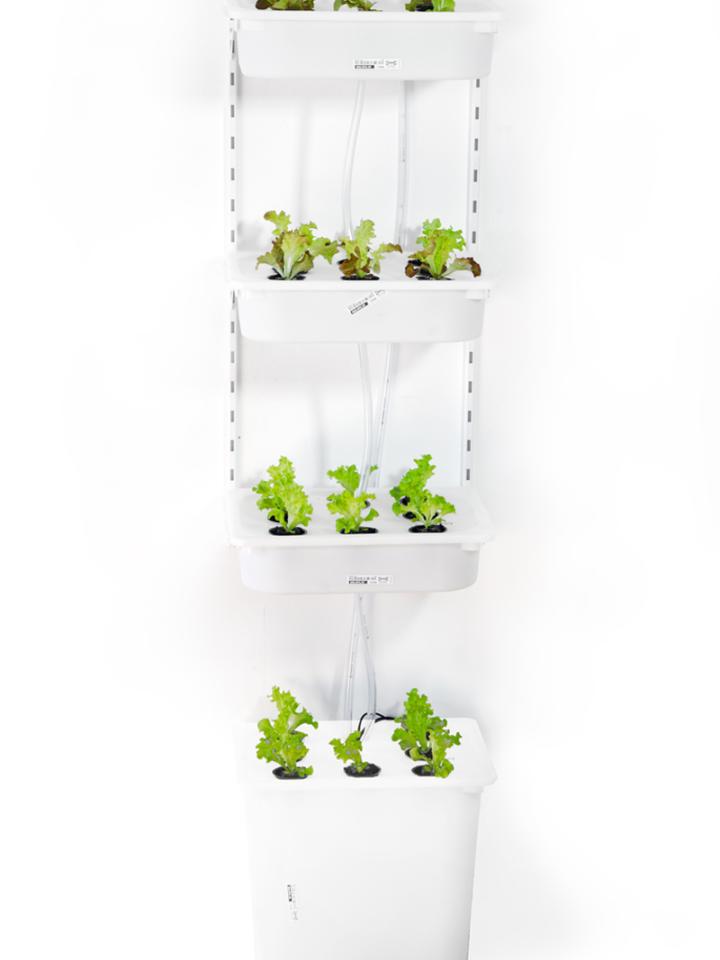
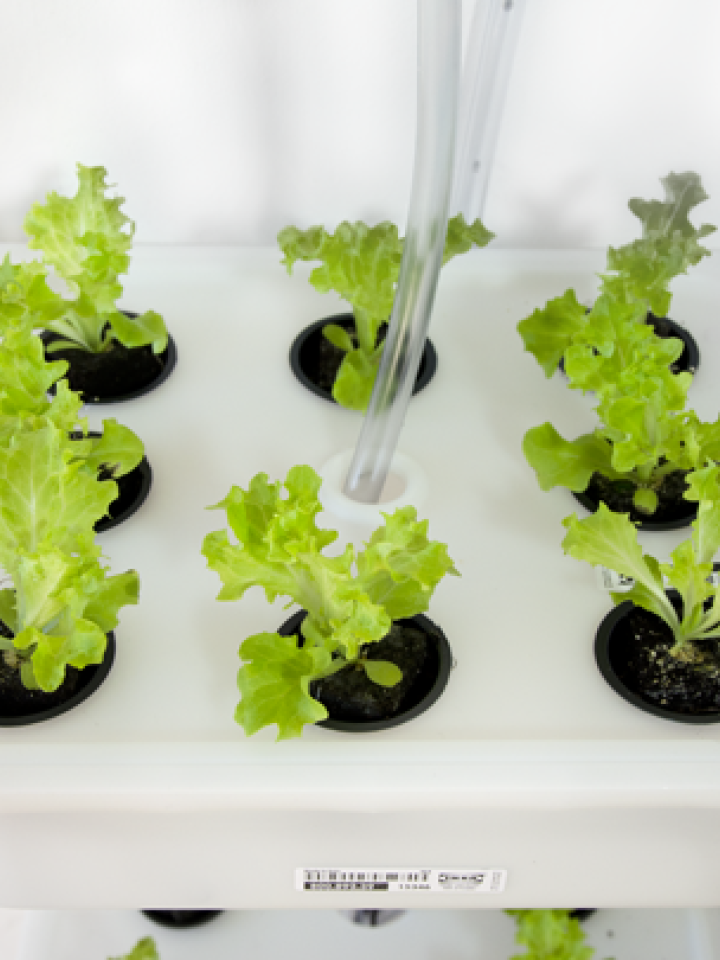
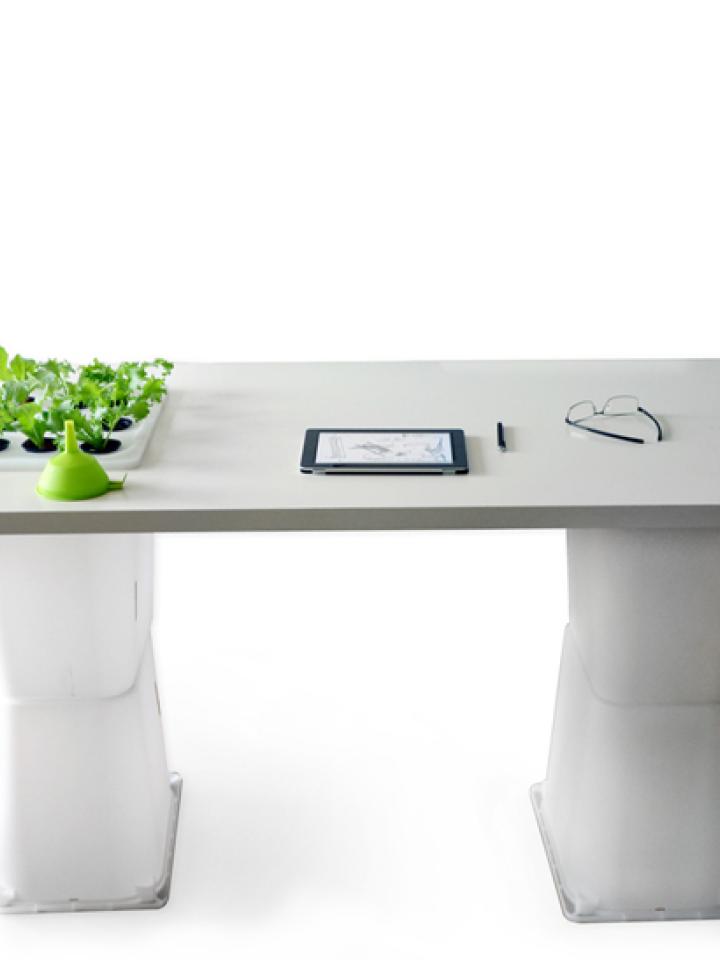
For urbanites with a lack of outdoor space, this DIY version by designer Antonio Scarponi makes clever use of Ikea products.
Or for a simple low-cost alternative using polystyrene containers, why not try this version adapted from an original idea by Arizona University professor and director of the Controlled Environment agriculture center Dr Gene Giacomelli.
What you’ll need:
- Heavy-duty bin liner
- Polystyrene cool box with deep lid
- 6 polystyrene cups
- 6 gallons distilled water
- Marker pen
- Craft knife
- Perlite
- Sphagnum moss
- Plant(s) of choice
- Plant nutrient mix
What to do:
- Line cool box with bin liner and fill with filtered water.
- Using the top of a cup as a template, trace six evenly spaced circles on the box lid. With a craft knife, cut out circles 1/4 inch smaller than the cup lid circles.
- Using the craft knife, cut a small hole in the bottom of the cups. Place Sphagnum moss in the cups and top with perlite, filling to just under the rim of the cups.
- Insert plant into the perlite, and fill in with more perlite around it.
- Place the lid upside-down on the box. Place the cups in the holes of the lid.
- Water the plant each day with nutrient mix, making sure that the water level in the container is not too high: There should be about an inch of room between the water line and the bottom of the cups.
- After a week to 10 days, roots from the plant should begin entering the container. As the plants grow, pick leaves as desired.

